
Someone needs to stop me.
I think I may have taken this obsession one step too far. First there was the Cookie, then the dip and the surprise cookie. Then came the decadent Death by Chocolate. Soon I’ll share with you the Chocolate Cookie Dough Pie (it’s worth waiting for!).
Today I give you the ultimate in my Chocolate and Chickpea madness.
Fried Chocolate Cookie Dough Balls.
Yep - I deep fried chickpeas in batter and they were THE MOST AMAZING THING EVER!
Then I dipped one in chocolate sauce and splashed on some raspberry sauce. That’s when I knew that this is the right job for me. Crazed perfection!
OK, I am the first to admit that deep frying food is hideously bad for you. I don’t fry any other food; I don’t even own a microwave because I like to cook as healthily as I can. But let’s focus on moderation and the good points.
• This is not an everyday treat (although I would be tempted!)
• It contains NO Gluten, NO Dairy and NO Processed Sugars
• It does contain Chickpeas, which are full of fibre and low in calories
• It is Vegetarian friendly, and maybe even Vegan approved (if they’re not too strict)
Of course the most important thing to remember when justifying to yourself that it’s ok to eat the whole bowl is that they taste like they’re full of evil ingredients...only they’re not so therefore it would a crime not to finish them off.
Not Guilty your Honour!
FRIED CHOCOLATE COOKIE DOUGH BALLS
(Inspired by SugarHero)
COOKIE DOUGH
INGREDIENTS
½ Cup Dates
¼ Cup boiling Water
2 Tablespoons Maple Syrup
½ cup Chickpeas; canned, drained and patted dried
1 teaspoon Vanilla Extract
2/3 Cup Almond Meal
1/3 Cup Arrowroot
3 Tablespoons Cocoa
Dash Salt
1 Tablespoon Milk
INSTRUCTIONS
Place the dates in a small bowl and cover with boiling water. Allow to sit for at least 30 minutes and soften.
Place the dates and water in a blender with the maple syrup and blend until a purée forms.
Add the chickpeas and blend until the chickpeas are broken down and a thick puree forms.
Add the Vanilla extract and pulse in.
Add the dry ingredients and blend until all combined.
Add the milk and blend until a smooth mixture is formed.
Transfer the cookie dough to a bowl and place in the fridge for at least 1 hour. This makes the dough firm and easier to handle.
Take 1 tablespoon of the cookie dough and roll it into a ball. Repeat this until all the cookie dough is used (it should make 14 balls).
Place the balls on a lined tray and freeze for 1 hour.
Whilst the balls are freezing make the batter
CHOCOLATE BATTER
INGREDIENTS
1/3 cup Almond Meal
2 ½ Tablespoons Arrowroot
1 ½ Tablespoons Cocoa
1/2 teaspoon Baking Powder
Dash Salt
½ Cup Milk
½ Tablespoon Maple Syrup
1 teaspoon Vanilla Extract
1 teaspoon Coconut oil
Oil for frying
INSTRUCTIONS
Combine the dry ingredients in a mixing bowl.
Add the wet ingredients and whisk until combined.
Allow the mixture to sit to thicken (this can be quickened by placing the bowl in the fridge).
Pour the oil into a medium sized heavy based saucepan to a height of approximately 5cms/2 inches (I used 1 litre of oil).
Use a candy thermometer (these are available quite cheaply at most kitchen and department stores; it’s a must for this recipe) in the oil, over medium heat, bring the oil to 180C/355F.
This can be quite tricky if you’ve never done it before. The oil will want to keep increasing its temperature so be sure to keep an eye on it as it nears the required temp. If it gets too hot, take the saucepan off the heat until it returns to the 180C. You will need to continue watching it like a hawk when the balls are cooking otherwise they will go black. If the temperature gets too hot when the balls are cooking, don’t worry. Just keep them in the saucepan and remove the pan from the heat; the balls will keep cooking regardless. Just return it to the heat when it gets to the right temperature.
Remove 3 balls from the freezer (keep the remainder in the freezer until needed).
Place the balls in the batter and, using a spoon, coat them all over by rolling them around.
When the oil is at the right temperature, carefully drop the balls in and cook for 3 minutes (set a timer to make sure they don’t burn).
Flip the balls half way to ensure they cook evenly.
Remove with a slotted spoon and place on plate lined with absorbent paper or baking paper.
Repeat for the remaining balls, making sure the oil temperature remains constant.
Serve warm with Raspberry sauce, Chocolate sauce or whipped cream (or by themselves they are pretty good too!)
RASPBERRY SAUCE
INGREDIENTS
1 cup frozen Raspberries
1 Tablespoon water
1 teaspoon Maple Syrup
INSTRUCTIONS
Place all the ingredients into a small saucepan and bring to the boil over medium heat.
Reduce the heat slightly and simmer for 5- 10 minutes, or until the sauce has thickened (this will depend on how much liquid was in your raspberries).
Place in the fridge to cool.
CHOCOLATE SAUCE
INGREDIENTS
2 Tablespoons Coconut Oil
2 Tablespoons Maple Syrup
¼ cup Cocoa
½ teaspoon Vanilla Extract
INSTRUCTIONS
Melt the coconut oil over a very low heat.
Add the maple syrup and whisk to combine.
Add the cocoa and vanilla extract and whisk/stir until thicken.
Store at room temperature (it will harden in the fridge)
The Queen of Hearts (that's me)
She made some tarts,
All on a summer's day; (in the middle of a heat wave)
The Knave of Hearts
He stole those tarts,
And took them clean away. (i.e. my Husband ate them all! Well... not all of them. Tarts are a well-rounded breakfast meal)
The King of Hearts
Called for the tarts,
And beat the knave full sore; (they did taste pretty good)
The Knave of Hearts
Brought back the tarts,
And vowed he'd steal no more. (well, until he caught a whiff of the next batch that is!)
I have a confession.
I had known about, tasted, eaten copious amounts of and LOVED Chocolate Cream for a while now and haven't shared my recipe with you.
It's not that I was trying to keep it all for myself and that I somehow thought that by sharing the recipe with you it would result in less cream for me. That's crazy...
It's not that I had convinced myself that this Chocolate cream was the secret ingredient to making everything taste better... although it would.
It was my little secret... my sweet, chocolate, fluffy secret.
This Chocolate cream goes thick once its been whipped and stored in the fridge. It has the same consistency as store bought mousse, only without extra nasty ingredients.
My suggestion would be to make 2 serves on the Chocolate cream... it's that damn good!

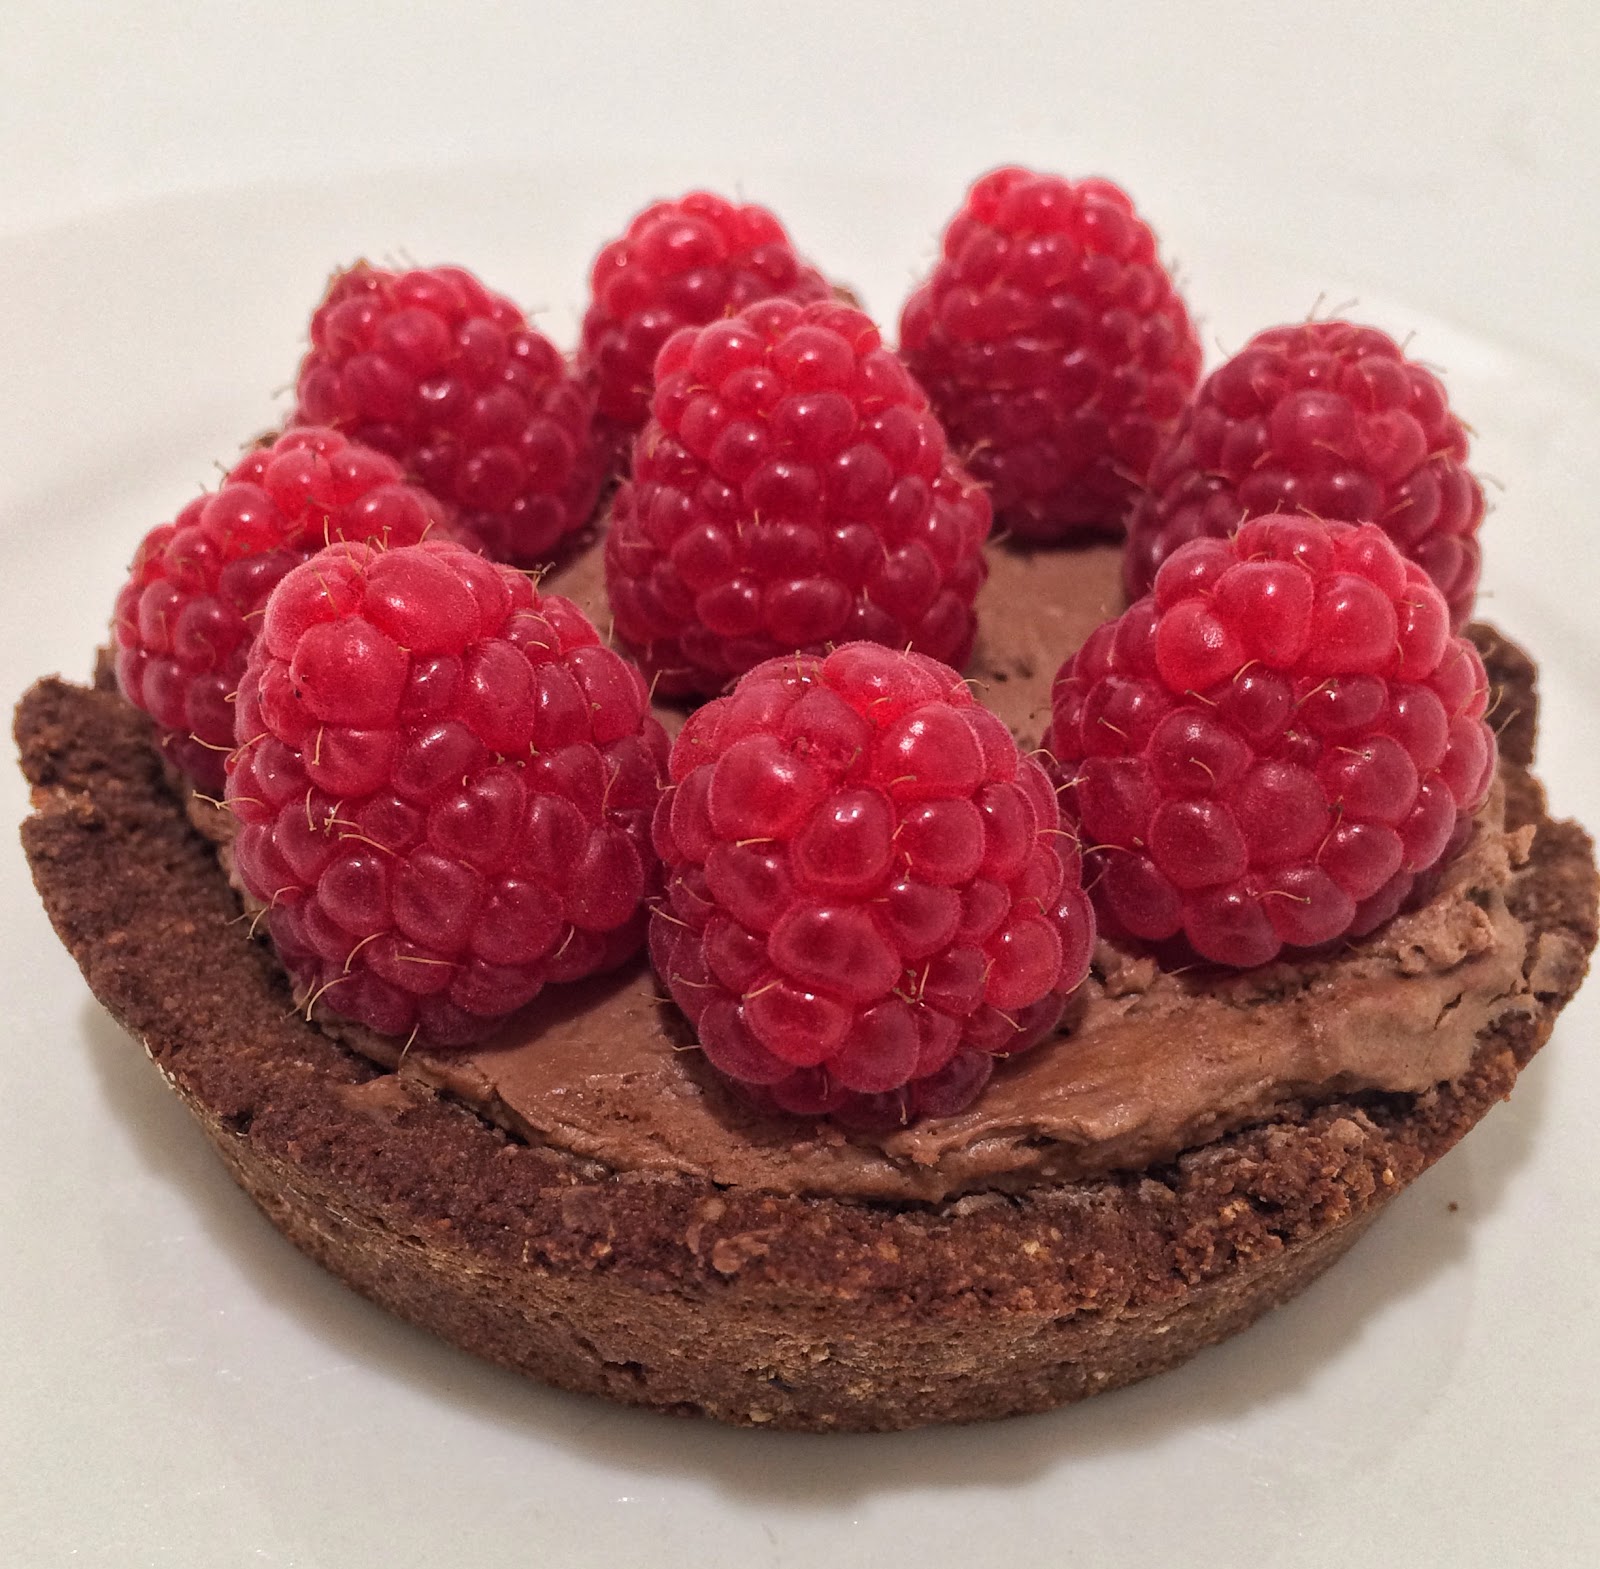
RASPBERRY CHOCOLATE CREAM TART
Makes 6 small tarts or 1 large Tart (using a 8 or 9 inch tin)
INGREDIENTS
1/4 cup almond meal (or another nut meal of your choosing)
1/2 cup coconut flour (available from health food and specialty stores)
2 tablespoons unsweetened cocoa
1/4 teaspoon salt
1/4 teaspoon baking soda
1/4 cup coconut oil, softened
1/4 cup maple syrup (you could substitute honey etc)
1 egg
1 teaspoon vanilla
1 serve Chocolate Coconut Cream
1 punnet Raspberries
Extra Cocoa for dusting
INSTRUCTIONS
Preheat the oven to 175C (350F).
Grease/Spray 6 small tart tins, or what ever size you choose (this recipe could be done as a normal size tart).
Mix the dry ingredients in a blender.
In a separate small bowl, whisk together the wet ingredients.
Pour the wet ingredients into the dry, and blend until combined.
Form a ball with the mixture, wrap it in plastic and place in the fridge for 20 minutes.
Divide the mixture into 6 even balls.
Press each ball into a greased mini tart tin; covering the bottom and up the sides of the tin.Trim the edges of the tart to make a nice clean edge.
Pierce the crust several times with a sharp knife.
Bake for 13-15 minutes.
Remove from the oven and allow to cool completely.
Whilst cooling, whip the Chocolate Cream (recipe below).
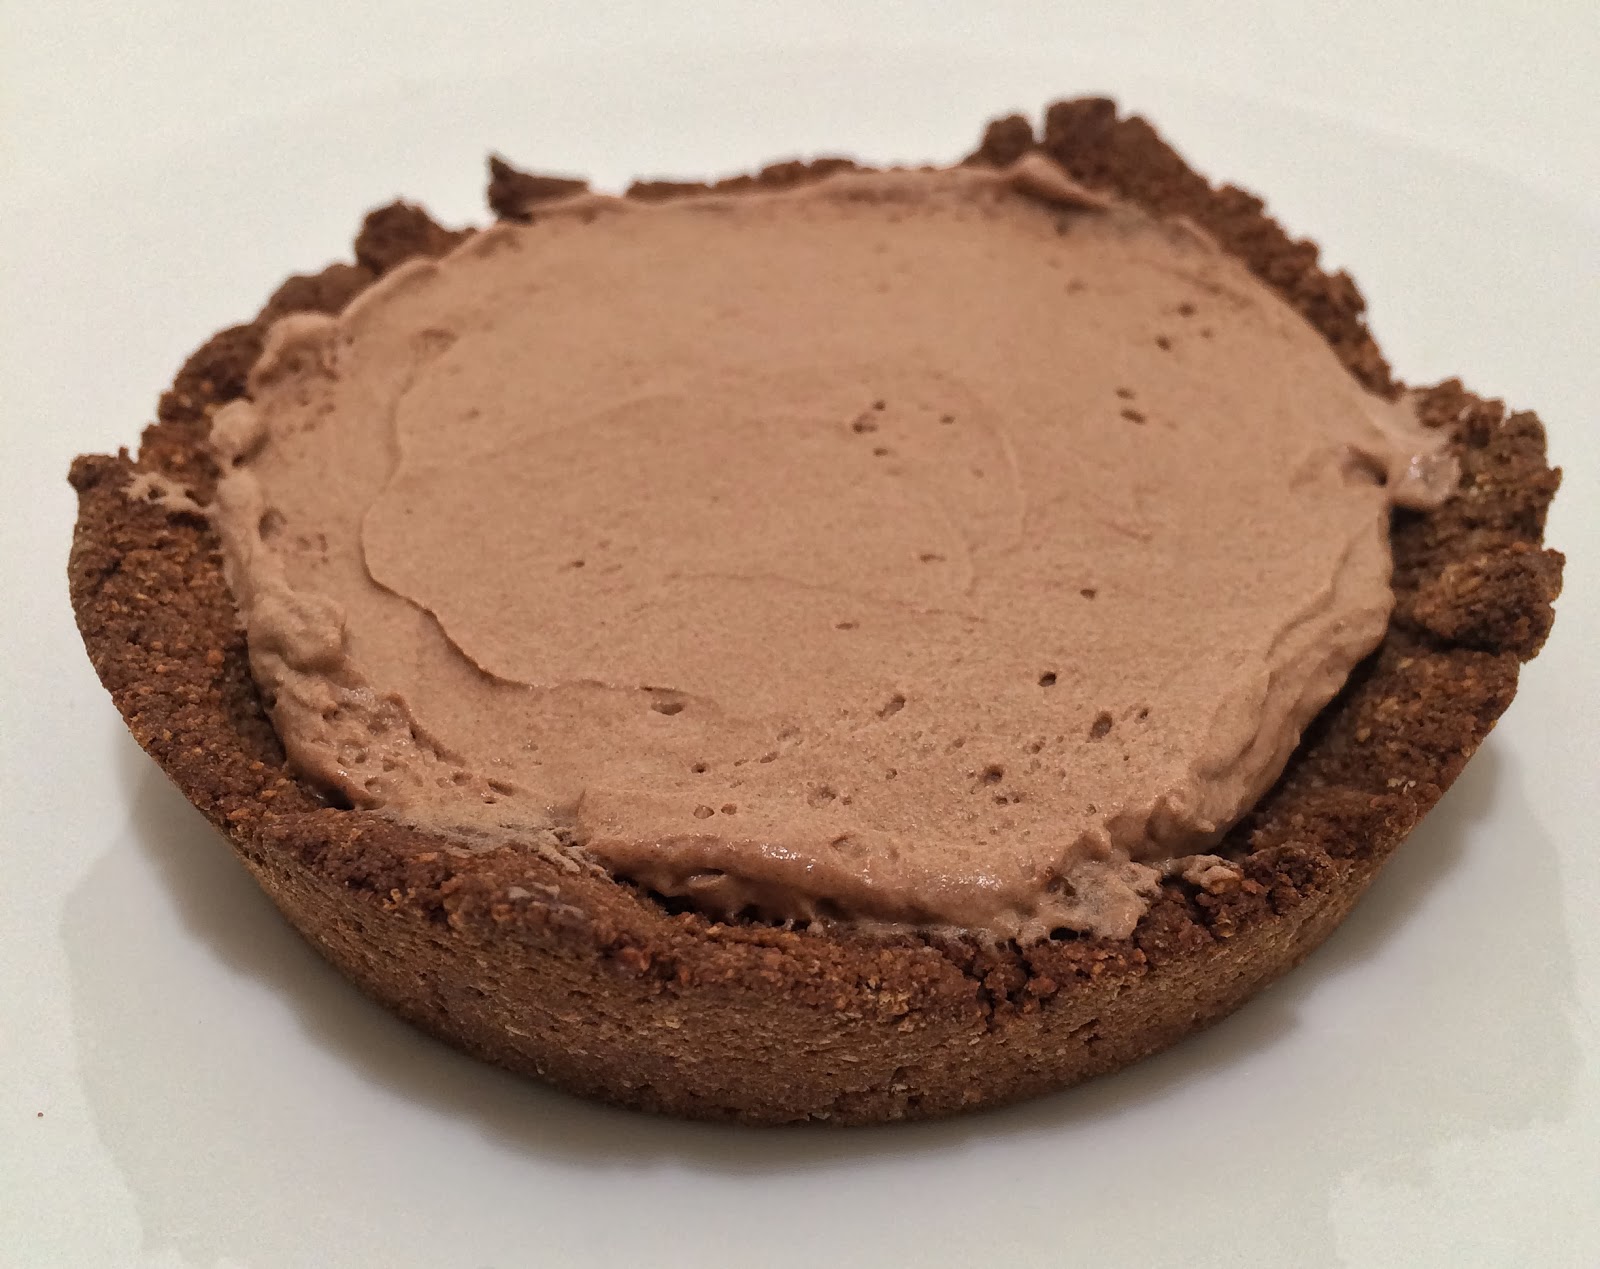
When tart crust has cooled spoon the cream evenly into the tarts.
Place raspberrys on top of the tarts.
Sift Cocoa over each Taft.
Serve immediately or store in the fridge.
CHOCOLATE CREAM
INGREDIENTS
1 can Coconut Cream, can opened and left in the fridge overnight
2 Tablespoons Cocoa
1 1/2 Tablespoons Maple Syrup
2 teaspoons Vanilla Extract
INSTRUCTIONS
Remove the can of coconut cream from the fridge and spoon out the thickened cream from the top of the can into a kitchen stand mixer bowl fitted with a whisk attachment (or use a hand blender).
Discard the watery remains from the can.
Add the maple syrup and vanilla extract and whip until thick (allow between 5-10 minutes).
Shift the cocoa over the cream and whip until incorporated.
Place the cream in the fridge for 1 hour to thicken

You know when are reading a magazine and you see something you really want. You start to drool, you start to imagine what it would look like in the flesh, you can't stop thinking about it (I'm referring here to food magazines but the same reaction could apply to shoes or crochet patterns... yep I'm weird!).
You have to have it... only it contains all the ingredients that would make you feel less than well. Back to the carrot sticks! HELL NO I say!
This month’s Taste Magazine had an Australian Day dessert Challenge set by non other than the amazing Adriano Zumbo, patisserie extraordinaire! It's called the PAVLINGTON- a cross between a lamington and a pavlova. I like to think of it as a dessert platypus; all the good bits combined to make a super dessert (without the webbed feet!).
So Australian! So Tasty; and now it's all mine! I have made some changes to the original Taste Magazine recipe. Instead of 4 small square cakes I have made 1 large cake and, of course, made it Gluten, Dairy and Processed Sugar free.
The Pavlington Cake is a bit time consuming, but totally worth it! All the elements are simple to make, and the construction is straightforward but it pays to start early. The sponge, curd, gel and cream can be made the day before. If possible, make the meringue layer the day of construction as it may soften and weep. This Pavlington Cake is like a trifle in cake form. It is so soft and gooey and the lemon curd will ooze out of the cut pieces. Delicious!
So, the most awesome thing happened today (other than having a piece of Pavlington for breakfast!). I tweeted a photo of a slice of Pavlington today and it was favourited by Adriano Zumbo! The master inventor of the Pavlington himself! Best, and most tasty, AUSTRALIA DAY EVER!!!
Due to the sheer number of photos taken to create a stp-by-step guide, I've had to put them all on Pinterest here

PAVLINGTON CAKE - ode to ZUMBO!
(adapted and inspired by taste.com.au and Adriano Zumbo)
Makes 16 serves
There are several parts to this cake.
Make each part (except for the chocolate coating) then begin construction.
The sponge, lemon curd, whipped coconut cream and raspberry gel can be made up to 2 days ahead.
You will require a 20cm/8inch spring form cake tin for cake construction
SPONGE CAKE
INGREDIENTS
9 eggs, separated
3/4 cup Maple Syrup
3/4 cup Coconut Flour
3 teaspoons Baking Powder
1 1/2 Tablespoons Vanilla Extract
INSTRUCTIONS
Preheat the oven to 175C/350F
Grease and line 2 20cm circular cake tins (for the base and top) and 2 20 cm square cake tins (to form the walls). Alternatively, a large baking tray could be used instead of the 2square tins. The square cakes will be cut into strips to form the walls of the Pavlington Cake.
Add the egg whites to the bowl of a kitchen stand mixer with a whisk attachment (alternatively use hand beaters).
Whisk on the egg whites on medium until soft peaks form.
Slowly add the maple syrup to the egg whites, 1 tablespoon at a time, whilst still whisking on medium.
Add the Vanilla Extract then the egg yolks, whilst whisking on medium.
In a separate bowl soft the coconut flour and baking powder together.
Add the dry ingredients to the wet, folding them in gently.
Do not over fold or whisk as too much air will be lost and the sponge will be tough and flat.
Evenly pour the sponge mixture between the 4 lined and greased cake tins.
Bake for 8-10 min, or until golden and cooked through.
Remove the trays from the oven.
Allow the sponges to cool before removing from the tins.
LEMON CURD
INGREDIENTS
3 eggs
2 egg yolks
1/2 cup Maple Syrup
Zest of 1 to 2 lemons (start with 1, increase depending on taste)
2/3 cup Lemon Juice, strained
1/2 cup coconut oil (softened slightly)
INSTRUCTIONS
Whisk the eggs, egg yolks, maple syrup, lemon zest and juice in a heat proof bowl until the mixture is well combined.
Place the bowl over a pan of simmering water. Do not let the bottom of the bowl touch the water.
Add the coconut oil 1 spoonful at a time. Whisk after each addition.
Only add the next spoonful once the previous one has combined.
Stir regularly.
This should take approximately 15 minutes. When done the mixture will be thickened and able to coat the back of the spoon.
Cool and place in a glass container. Store in the fridge.
WHIPPED COCONUT CREAM
INGREDIENTS
1 can Canned Coconut Cream, lid removed and placed in the fridge over night
2 teaspoons Vanilla Extract
2 teaspoons Maple Syrup
INSTRUCTIONS
Spoon the thickened cream out of the can, discarding the watery remains.
Place the coconut cream, maple syrup and vanilla extract in a mixing bowl and whisk on high until thickened. The key is to forget about the cream and leave it to whip for at least 5 minute. Place the whipped cream back in the fridge to thicken before using.
RASPBERRY GEL
INGREDIENTS
500 grams frozen raspberries, thawed (keep the juices)
2 Tablespoons Maple Syrup
1 teaspoon Gelatin
1 teaspoon lemon juice
INSTRUCTIONS
Place the thawed raspberries in a blender and purée until smooth.
Pass the purée through a sieve, using the back of a spoon to press out as much juice as possible into a bowl. (I passed the purée through the sieve twice)
At this point measure the raspberry juice that you have collected.
If 1 cup, use 1 teaspoon of gelatin; if 1 1/2 cups, use 1 1/2 teaspoons of gelatin.
Place the juice, maple syrup and gelatin in a saucepan over medium heat and bring to a rolling boil.
Add the lemon juice and mix well.
Pour into a heat proof bowl, cover and keep in the fridge.
MERINGUE
INGREDIENTS
2 egg whites
1/2 cup Maple Syrup
1 teaspoon Vanilla Extract
1/2 teaspoon Vinegar
2 teaspoon Arrowroot
INSTRUCTIONS
Preheat the oven to 130C/260F
Draw 2 18cm (7 1/4 inch) circles on baking paper.
Place the 2 baking paper circles on 2 trays, pencil side down.
Lightly grease.
Place the egg whites in a mixing bowl and whisk on medium until soft peaks form.
Slowly add the maple syrup, 1 tablespoon at a time, until stiff peaks form.
Add the vanilla extract and whisk until combined.
Sift the Arrowroot over the meringue mixture.
Add the vinegar and gently fold in.
Evenly divide the meringue mixture between the 2 circles.
Use an offset spatula or flat knife to spread the mixture evenly over the traced circle until about 1.5cm thick.
Bake for 15-17 minutes, or until a slight golden crust forms on top. The meringue will still be soft and gooey in side.
Allow to cool.
CONSTRUCTION
INGREDIENTS
8-9 strawberries, hulled and cut into pieces
Small handful of blueberries
INSTRUCTIONS
Line a 20cm/8inch Springform cake tin with baking paper. Cut the baking paper and line the edges of the tin also.
Place one of the circle sponges on the bottom of the tin.
Cut the square sponges into long strips and line the sides of the tin. My cake was 6.5cm high, so the strips needed to be approximately that high.
Ensure that there are no gaps (it doesn't matter if the edges resemble more of a patchwork quilt than a sturdy wall as they will be covered by chocolate).
Stir and loosen the raspberry gel.
Spread 1/2 the gel over the bottom sponge.
Place 1/2 the Whipped Coconut Cream in a piping bag and thinly pipe over the raspberry gel (this prevents the gel and cream from mixing). Use a palette knife to gently spread the cream to cover the Raspberry gel.
Place the meringue on top of the cream, trimming it to fit if required.
Spread 1/2 the curd over the meringue.
Sprinkle strawberries and blueberries over the curd.
Top with the remaining curd.
Place the meringue layer on top of the curd.
Spread the remaining raspberry gel on top of the meringue.
Pipe the remaining whipped coconut cream on top of the raspberry gel, and gently spread to cover the gel.
Place the circle sponge on top, trimming the edges of the sponge walls if required.
Place the tin in the fridge for at least 2 hours (I left mine overnight and it was fine) and then in the freezer for 1 hour before coating in the Chocolate sauce.
CHOCOLATE COATING
INGREDIENTS
1/2 cup + 1 tablespoon Maple Syrup
3/4 cup Cocoa
1/2 cup Water
1/2 cup Coconut Cream
2 teaspoons Vanilla Extract
2 1/2 teaspoons Gelatine
2 Tablespoons Water
1 cup Desiccated Coconut
INSTRUCTIONS
Place all ingredients (except for the Gelatin, 2 Tablespoons of water and Coconut) in a saucepan and bring to a rolling boil over medium heat, stirring continuously.
Boil for 2 minutes, stirring continuously. The mixture will be shiny and thickened.
Take off the heat and allow to sit for 3 minutes.
Meanwhile, sprinkle the gelatin over 2 tablespoons of water and allow to sit for 5 minutes.
Add the gelatin mixture to the chocolate and whisk until dissolved.
Allow to sit for 3 minutes.
Remove the Pavlington Cake from the freezer and gently remove from the springform tin.
Place the Pavlington on a wire rack over a baking tray (this catches the chocolate drips- the left overs taste awesome!).
Pour the Chocolate coating evenly over the Pavlington.
Use a metal spatula (or flat knife) to spread the coating over the side edges of the coat. Do this 2-3 times to get an even covering.
If necessary, reuse the chocolate that has dripped into the tray.
Once the sponge is completely covered sift the coconut over the top and sides (you may need to get messy and throw the coconut over the sides).
Return to the fridge and allow to set for at least 1 hour before serving.
Very carefully, transfer to a serving plate before serving.
Keep in the fridge.


